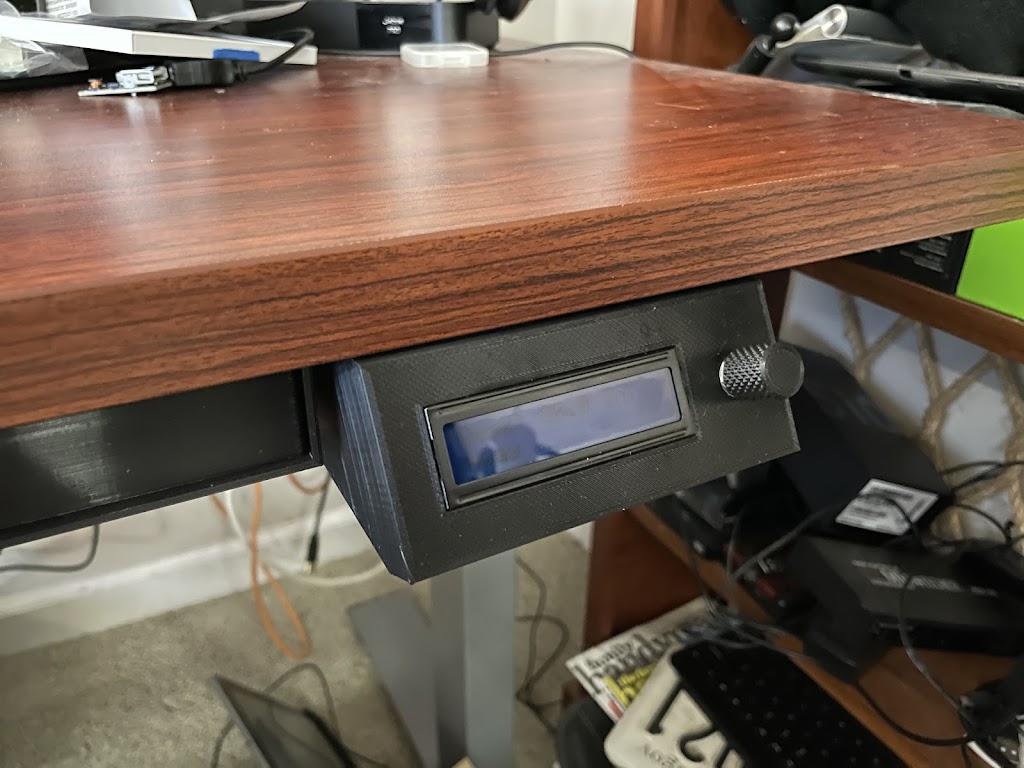
16 months ago I decided to upgrade my home office with a dedicated desk for work from home and got a amazing deal on a Flexispot Standing Desk on Amazon. It was very helpful for me to have a dedicated space that was separated from my personal computing setup. It really allows me to focus and limit distractions (I have enough of those between Teams, E-mail, Slack, etc.). My “command center” needs some improvements for ergonomics as the upper monitors are definitely a little high which causes a little neck strain so I don’t use them too much except for at a glance data.
 |
| Work from Home Command Center |
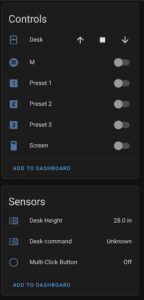
I sometimes remember to raise the desk but not nearly as often as I really should. It isn’t difficult using the built in control panel, it supports up/down, 3 memory positions, and a display that shows the current height. The issue isn’t really the controls, but my memory.
Also, if you know me, you know I am really into open Home Automation using Home Assistant, and want to integrate everything I can with this great piece of open source software. I also love building things with microcontrollers and 3D printing.
 |
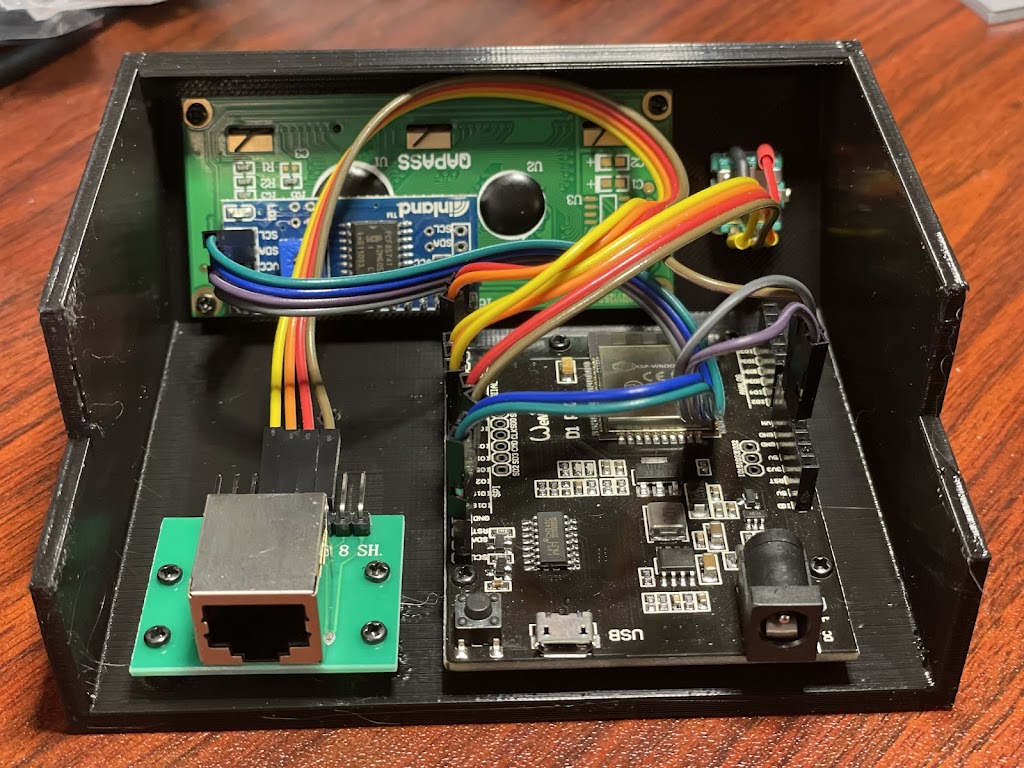
| Loktek Control Board inside |
One of the challenges I faced initially was wiring up the ESP32 to the motor controller using an RJ45 connector so I purchased a
RJ45 breakout board to accomplish this.
Having used ESPHome a few times, it was pretty easy to tweak Mick’s yaml and get stuff into Home Assistant. However, I ran into a huge problem. I originally just wanted to pass through and utilize the original controller. This is apparently possible with some of the motor controllers that have multiple RJ45 jacks, but when I tried this, I couldn’t get both to function at the same time.
 |
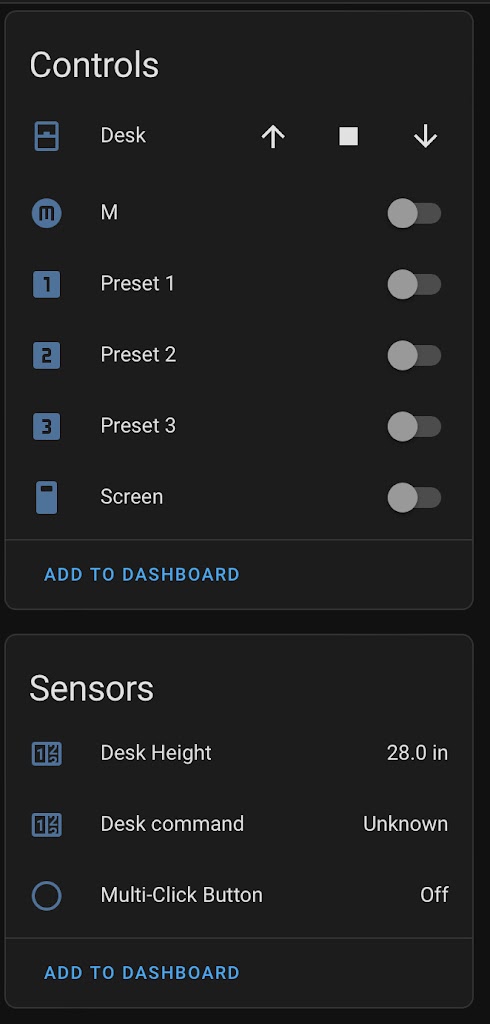
| Desk Controls in Home Assistant |
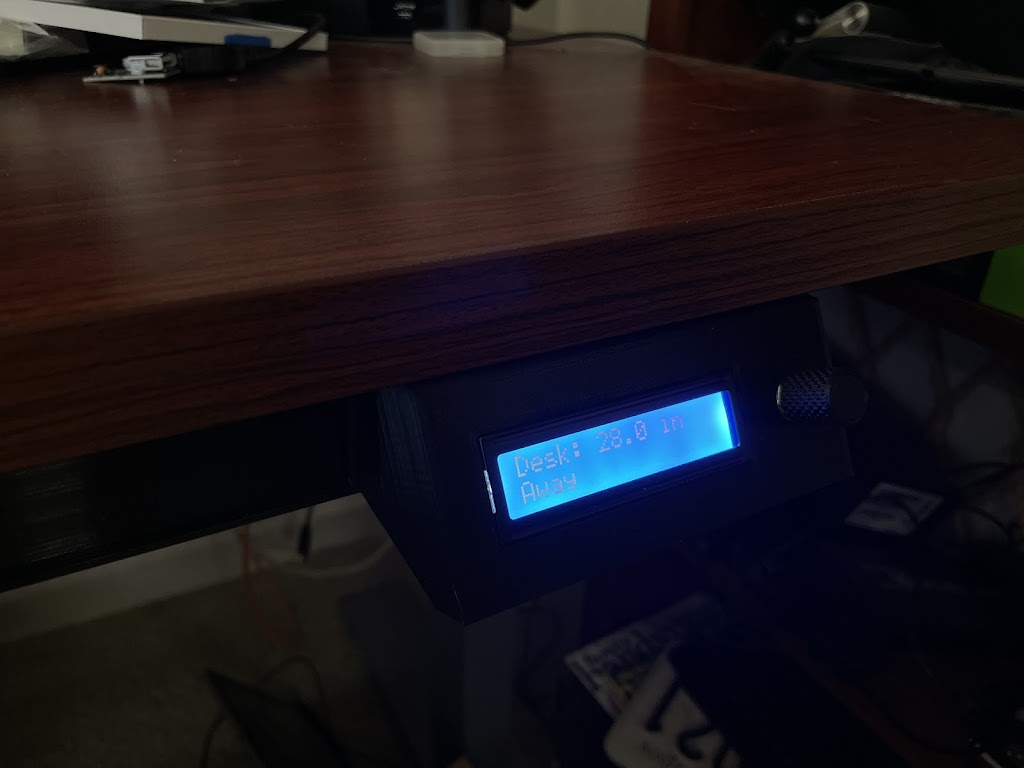
So, not one to be deterred, I thought this was a perfect chance to build an even better controller and design an enclosure for it too! I had a few parts laying around, an LCD1602 I2C display and a digital rotary encoder with push button that would provide the physical input/output interface for control.
Esphome is great in that it isn’t limited to interacting with Home Assistant but also allows you to program logic itself, so that things will work even when Home Assistant is not connected. So I tweaked Mick’s yaml configuration to display the current desk height on the first line of the display. Rotating or clicking the encoder turns on the LCD backlight for 30 seconds. Rotating the encoder raises or lowers the desk. Double clicking the button lowers the desk to the sitting memory position and triple clicking the button raises the desk to standing memory position.
On the second line, I display a sensor value from Home Assistant. The backlight even shows up as a separate light entity, so you can have an automation flash the backlight to get your attention or something, your imagination is the only limit!
I fired up tinkercad and designed a simple enclosure to house the display, rotary encoder, ESP32 and RJ45 breakout board. I didn’t bother with a bottom of the case but I’m sure if I need to update it that will be easy enough to do.
It is secured to the desk using the same two screw holes the original controller used. I matched the same angle of the front panel and adjusted the LCD backlight to optimize contrast from my seating position.
I’ve been using it like this for a couple months now (I just now got back around to completing this post) and it has been great for me, meeting all my needs.
The ESPHome code I am using is located
here.
I’d love to hear your thoughts, questions or comments, here or on social media (I’m MrTechGadget pretty much everywhere)


Leave a Reply